How to Clean Retainers: A Step-by-Step Guide
It’s easy to underestimate the importance of retainer care – especially once the “active” phase of orthodontic treatment is behind you. But if you’re wearing a retainer (whether fixed or removable), it’s not a suggestion; it’s an ongoing part of your dental health routine. And knowing how to clean retainers properly isn’t just about fresh breath or avoiding discolouration – it directly impacts the longevity of the appliance and the health of your mouth.
Let’s be clear: retainers are in constant contact with your teeth and gums. If not cleaned regularly (and correctly), they can harbour bacteria, accumulate plaque, and even start to smell. We’ve seen more than a few patients return with irritated gums or new tartar buildup – not because their braces failed, but because their retainer hygiene did.
Below, we’ve outlined a practical, no-nonsense routine for keeping your retainer clean – whether it’s a plastic Essix-style, a classic Hawley, or an Invisalign tray.
Daily Cleaning vs Deep Cleaning: What’s the Difference?
Before diving into the how, it helps to understand the what. Daily cleaning is exactly what it sounds like: a simple rinse and brush to remove debris, prevent odour, and maintain general hygiene. Deep cleaning, on the other hand, should be done a few times a week (or as recommended) to tackle hidden bacteria, stubborn stains, and mineral build-up.
Both matter. Doing one without the other? Not enough.
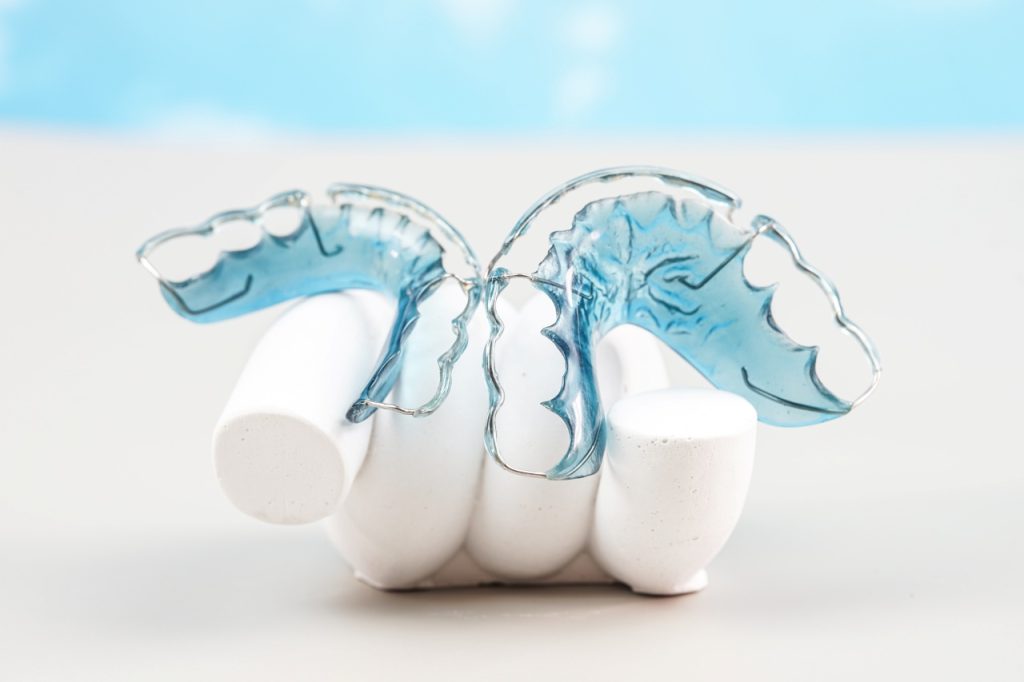
How to Clean Plastic Retainers and Invisalign Trays (Daily Routine)
These are often clear and snug-fitting – making any gunk or discolouration painfully obvious. Follow these steps:
- Remove the retainer before eating or drinking anything other than water. Every time. No exceptions.
- Rinse under lukewarm (not hot) water immediately after removal. This helps prevent dried-on saliva and plaque.
- Brush gently using a soft-bristled toothbrush. Don’t use your regular toothpaste – it’s too abrasive and can scratch the plastic. Instead, opt for a mild, unscented soap or a cleaning gel made specifically for retainers.
- Let it air dry fully before storing or wearing again. Avoid leaving it in a sealed container while wet – that’s a fast track to bacterial growth.
We occasionally meet patients using mouthwash to clean their retainers – please don’t. Most mouthwashes contain alcohol or dyes that can damage or stain the plastic over time.
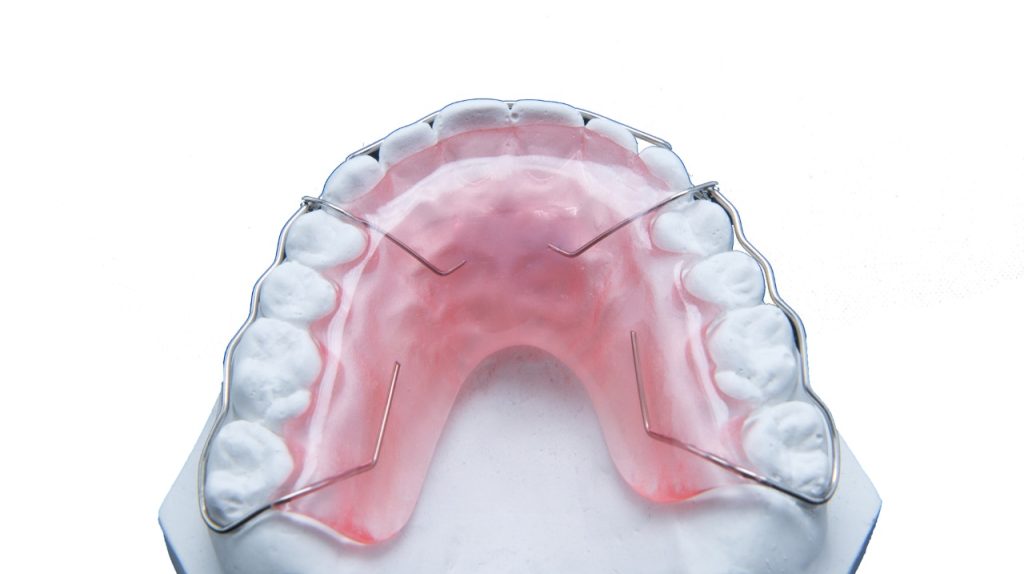
How to Clean Hawley Retainers (Daily Routine)
Hawley retainers (the ones with the acrylic base and metal wires) are more durable, but they still require careful cleaning.
- Start with a gentle rinse under lukewarm water.
- Use a soft toothbrush and gentle dish soap or retainer-safe cleanser. Brush both the acrylic and the wires, taking care not to bend any components.
- Check for mineral deposits. If you notice white, chalky spots that don’t come off with brushing, it’s time for a deep clean (see below).
- Dry completely before putting it in its case. Moisture + closed container = bacteria buffet.
How to Deep Clean Retainers at Home (2–3 Times per Week)
If your retainer is starting to look cloudy, smell odd, or show signs of build-up, here’s what we recommend for a proper deep clean:
Option 1: Gentle Brushing
- Use a soft-bristled toothbrush and a mild, non-abrasive toothpaste or fragrance-free soap.
- Gently brush all surfaces of the retainer, paying extra attention to grooves where plaque can collect.
- Rinse thoroughly with lukewarm water (never hot, as it can warp the retainer).
Option 2: Retainer Cleaning Tablets
- Widely available in pharmacies and online, these are quick and effective.
- Drop a tablet into a cup of lukewarm water and soak your retainer as directed (usually 15–20 minutes).
- Rinse thoroughly before wearing.
- Tip: If your retainer has metal parts, check the label to make sure the tablets are safe for use with metal.
Option 3: Dental Pod / Ultrasonic Cleaner
- A dental pod (ultrasonic cleaner) uses high-frequency vibrations to remove plaque, bacteria, and build-up without harsh chemicals.
- Simply fill the pod with water, place your retainer inside, and let it run for a few minutes.
- Rinse thoroughly before use.
💡 Pro tip: Combine these methods – daily rinsing and gentle brushing, plus a deeper clean with tablets or a dental pod 2–3 times per week – to keep your retainer fresh, clear, and odor-free.
Common Mistakes to Avoid
Even patients with good intentions can go wrong here. Please don’t:
- Use boiling water or put retainers in the dishwasher. Heat can warp the plastic or damage metal.
- Use toothpaste or whitening products. They’re too abrasive.
- Store in a napkin or pocket. It sounds obvious, but retainers wrapped in tissue are retainer-shaped magnets for the bin.
- Skip cleanings because “it looks fine.” Plaque isn’t always visible – and by the time it smells, it’s already built up.
How Often Should You Replace a Retainer?
If you’re cleaning it properly and handling it with care, a removable retainer can last several years. But nothing lasts forever. Look out for signs of wear like:
- Cracks in the plastic
- Warping (it no longer fits snugly)
- Persistent odour, even after cleaning
- Stains that won’t come off
If any of the above apply, it might be time for a replacement. Don’t try to “make it work” – an ill-fitting retainer is not doing its job and may even cause damage over time.
Final Thoughts
Knowing how to clean retainers at home isn’t about perfection – it’s about consistency. You don’t need a cupboard full of specialist products, just a sensible routine and a bit of diligence. A clean retainer supports fresh breath, healthy gums, and ensures your treatment results last – and when it comes to the benefits of proper dental hygiene – the ripple effects extend well beyond just your smile.
If you have questions about your retainer type, or you’re unsure if it’s working as intended, we’re happy to help. At Boston Orthodontics, we offer expert-led dental straightening services that don’t stop when the brackets come off – we’re here for the long haul, with care that goes beyond the obvious.
Book Your Dental Checkup Today
Ready to take control of your oral health? Whether it’s your first visit or a routine cleaning, regular dental checkups make all the difference. Our expert team is here to help you maintain a strong, confident smile.
MOST POPULAR TREATMENTS
Our Services

Our Doctor
Meet Doctors

Dr. Elif Keser
Dentist

Dr. Tania Rafael Garcia
Dental Surgeon

Dr. Gustavo Silva
Dental Surgeon